When we first stumbled into our location at 465-C Olympia, the place was in need of some serious attention. I am writing this, disappointed that we did not take progress pics of the shops transformation. In the midst of transforming 465-C Olympia from automotive glass shop to paint shop, we needed to acquire a counter that would be aesthetically pleasing but also stand the test of time and abuse.
This counter is going to see a lot of use, from paint cans sliding across, using it as a workstation for testing samples and teaching systems to contractors and homeowners, spilling solvents and mild chemical irritants, and occasionally a beer here and there.
We first started looking at purchasing a counter top, but quickly turned away after looking at the first few price tags. We were even quoted near the $5,000 for the size of counter top we wanted, which happened to be 18' x 32". After getting over some of the initial sticker shock and being unable to find anything that would stand up to our abuse while satisfying our aesthetic needs for a bitchin' counter top, we decided to build one.
Now unfortunately progress pics were not taken for this project either, but it garners enough attention from our customers that it warrants a discussion. In the future if it generates enough interest I will go through a sample build process and post about it.
I am going to post the pictures of our counter which were taken just the other day after cleaning everything off of it, this counter top is perpetually in use and cluttered, so enjoy!
Here is the counter top as you walk into the store.
A picture standing at the end opposite our POS system. Ignore the construction material underneath!
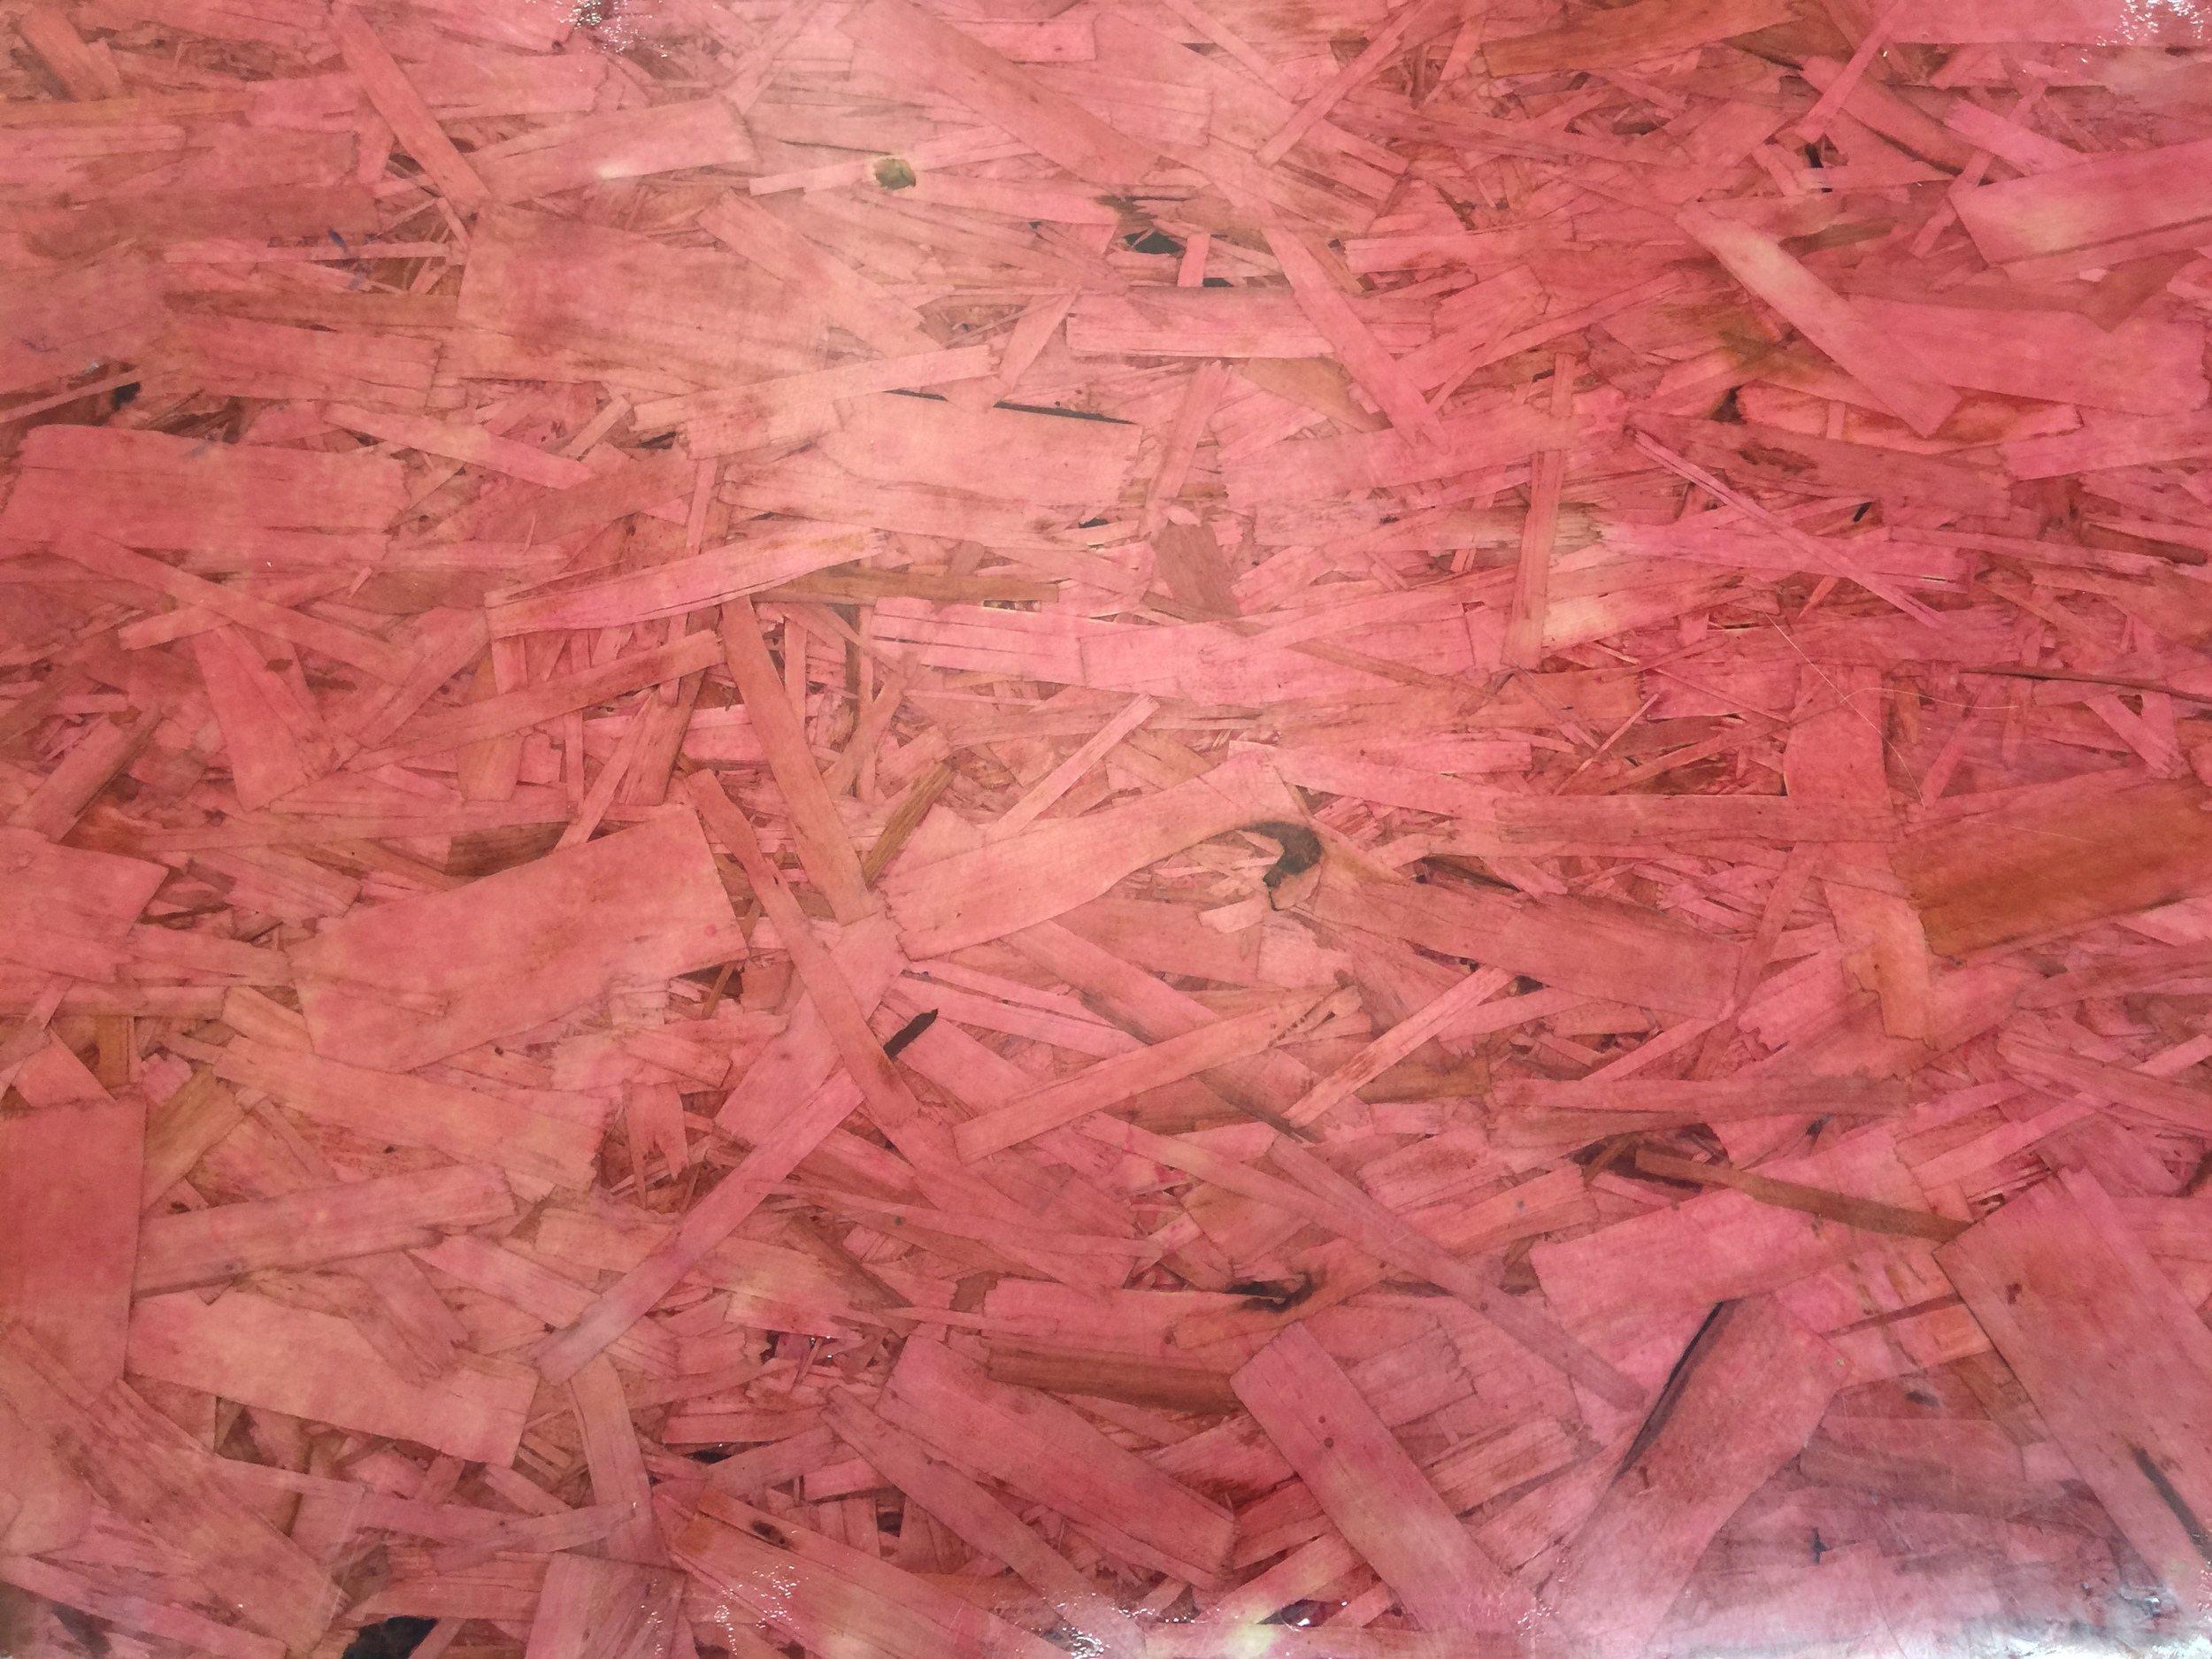
Here is an upclose view of the chipboard with the epoxy laid over the top of it.
Now this post will not be about the construction of the desk in its entirety but one on the creation and finish of the desktop.
First we started with the chip board, now the chip board is a very porous substrate and we are also huge fans of shellac as the universal "go-between." So our initial step in this system is to brush on our first coat of clear shellac, we like the Zinsser Brand.
After letting that setup completely we went back and did a light sand at 280 grit, we now have a chipboard look with a better surface on which to apply some of the other coats we are going to need.
Our next step in the system is to tint and pour on an epoxy, in our case we used the Pitthane Ultra Urethane Enamel and troweled out this coat. The epoxy is a self leveling acrylic aliphatic urethane, but really its just a great glue that's going to be our counter top.
The Pitthane was tinted using AS Bourdeaux dye to give that pinkish red hue.
It's important to allow this to set up completely, so 7-8 hours between coats and before handling is a good rule of thumb for this product specifically.
After allowing the shaded coat to completely set up we could apply the final clear coat, which is the same epoxy we used, except we rolled on the final coat. We would like to re-iterate that while we have encountered many products that claim to be "self-leveling" this product actually is "self-leveling" I love products that properly utilize gravity.
The final coat was rolled out and allowed to set up completely. A quick buffing and this left us with the finished product you see above. What was going to cost us $4000-5000 ended up costing us around ~$400.00.
Let us know what you think! We love to try and use our materials in new and creative ways everyday.


